Ad Blocker Detected
Our website is made possible by displaying online advertisements to our visitors. Please consider supporting us by disabling your ad blocker.
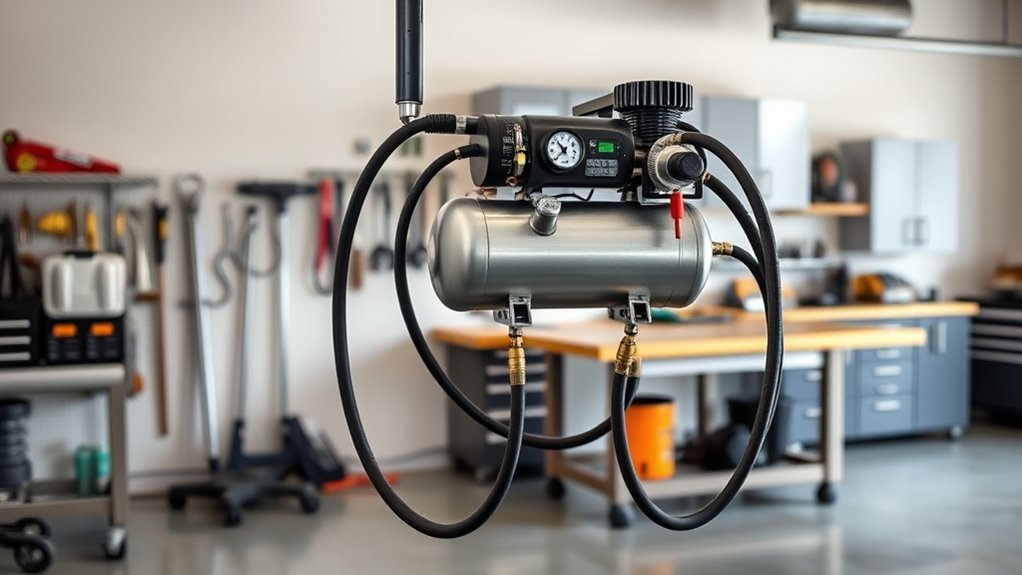
Just as a well-tuned engine requires precise assembly, installing an air compressor in your garage demands careful planning and technical accuracy. We recognize that choosing the right location, guaranteeing proper mounting, and setting up safety features are critical steps. Skipping these can lead to inefficiencies or hazards. To guarantee your system functions reliably and safely, it’s essential to follow a detailed, methodical approach—let’s explore how to do this effectively.
Key Takeaways
- Select a flat, well-ventilated area with adequate clearance, vibration isolation, and secure mounting options.
- Choose an appropriate compressor type (oil-free or oil-lubricated) based on noise, maintenance, and workload needs.
- Gather essential tools and safety gear, then prepare the installation site with storage solutions and proper ventilation.
- Connect air hoses, pneumatic tools, and install a drain valve and pressure regulator, ensuring tight, leak-free fittings.
- Test the system thoroughly for leaks, proper pressure, and noise levels before regular operation.
Assess Your Garage Space and Prepare a Suitable Location
Before installing an air compressor, we need to evaluate the available space in your garage to guarantee proper placement and operation. Effective garage organization is essential to optimize space and facilitate maintenance. We should identify a flat, well-ventilated area away from high-traffic zones to minimize noise and ensure safety. Adequate storage solutions are critical for keeping tools, hoses, and accessories organized, preventing clutter that could interfere with the compressor’s operation. Consider installing shelving or wall brackets to free up floor space and maintain clear access. Making sure proper clearance around the compressor is essential for ventilation and heat dissipation. Careful assessment of your garage space enables a strategic setup, promoting efficiency, safety, and long-term usability of your air compressor.
Choose the Right Air Compressor for Your DIY Needs
Selecting the appropriate air compressor requires analyzing compressor types, power requirements, and portability to match your specific tasks. We must also consider noise levels and energy efficiency to guarantee ideal operation within our workspace. Making informed choices here directly impacts performance and convenience in your DIY projects.
Suitable Compressor Types
Choosing the right air compressor depends on understanding the specific tools and tasks you’ll undertake in your garage. For quieter operation, consider oil-free compressors, which produce less compressor noise and require minimal maintenance, making them ideal for intermittent use. In contrast, oil-lubricated models tend to be quieter over prolonged periods, though they have higher lubrication needs and involve regular oil changes. Additionally, piston compressors are suitable for high-pressure applications but tend to generate more noise, whereas rotary screw compressors operate more quietly and efficiently in continuous-duty scenarios. Assess your workload to determine whether noise levels or lubrication requirements are more critical. Selecting the appropriate compressor type guarantees maximum performance aligned with your project’s demands, balancing noise control and maintenance considerations.
Power and Portability
To guarantee your garage air compressor meets your specific DIY needs, evaluating power and portability options is vital. Power capacity, measured in CFM and PSI, determines the compressor’s ability to handle various tools and tasks. Reputable air compressor brands like Makita, Porter-Cable, and Ingersoll Rand offer models with reliable performance and durable construction. Portability features, such as lightweight design, built-in handles, and compact footprints, are essential for ease of transport and flexible workspace setup. Selecting a compressor with portable features ensures you can move it efficiently around your garage or to different job sites without sacrificing power. Balancing these factors allows for a tailored setup that maximizes efficiency while maintaining ease of use, necessary for ideal DIY operation.
Noise Levels and Efficiency
When evaluating air compressors for your garage, considering noise levels and efficiency guarantees ideal operation without unnecessary disruptions. Lower noise levels are vital to maintain a comfortable workspace and prevent hearing damage, especially during prolonged use. Compressors with sound insulation or quieter motor designs notably reduce noise output. Efficiency, on the other hand, impacts energy consumption and operational costs; high-efficiency units utilize advanced motor and pump technologies to optimize airflow and reduce power waste. Selecting a compressor with balanced noise levels and efficiency ensures consistent performance, minimizes fatigue, and lowers long-term expenses. By prioritizing these factors, we can guarantee our garage setup promotes a safer, more productive environment while maintaining energy-conscious operation.
Gather Essential Tools and Safety Equipment for Installation
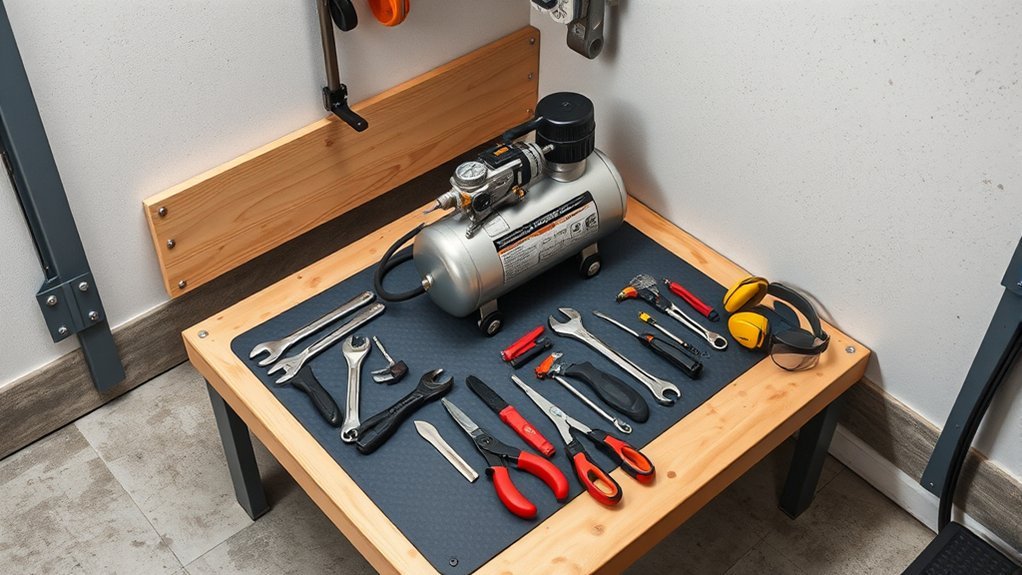
Before beginning the installation process, we must gather all necessary tools and safety equipment to guarantee a smooth and secure setup. Essential tools include a wrench set, screwdrivers, a pipe cutter, and a drill. Safety equipment should include eye protection, gloves, ear protection, and a dust mask to maintain air quality during installation. To address noise reduction, consider acquiring vibration pads and acoustic enclosures if noise levels are a concern. Properly handling tools and safety gear ensures a safe environment and minimizes risks. Confirm that all tools are in working order before starting. Maintaining good air quality during installation is critical, so assure proper ventilation and use dust masks when working with potentially airborne debris. This preparation creates a foundation for a safe, efficient compressor setup.
Install a Proper Electrical Outlet and Confirm Power Requirements
We need to verify the power specifications of the air compressor to confirm compatibility with your garage’s electrical system. Installing a dedicated outlet tailored to those specifications prevents overloads and electrical hazards. Additionally, confirming the circuit capacity guarantees the electrical system can support the compressor’s continuous operation without tripping.
Check Power Specifications
Ensuring the electrical system can support the air compressor’s power demands is essential for safe and efficient operation. Verifying power specifications guarantees power safety and electrical compatibility. First, assess the compressor’s voltage and amperage requirements, ensuring your circuit can supply these without overload. Second, confirm that the circuit wiring and breaker ratings meet the manufacturer’s specifications; undersized wiring can cause overheating or failure. Third, check for any existing electrical loads on the circuit that could compromise performance or safety. Properly matching the power supply to the compressor’s requirements minimizes risk, prevents electrical hazards, and ensures reliable operation. Accurate power specification checks are a critical step in safe installation and long-term functionality.
Install Dedicated Outlet
Installing a dedicated electrical outlet tailored to the compressor’s specifications guarantees a stable power supply and reduces the risk of electrical issues. This assures consistent operation and prevents overloads that could impact air quality by causing moisture buildup or fluctuating pressure. Proper outlet placement minimizes electrical noise, improving noise control and reducing vibrations that could transfer to surrounding structures. Using a dedicated circuit prevents other devices from affecting compressor performance, maintaining ideal air quality and compressor longevity. Confirming power requirements guarantees the outlet and wiring can handle the compressor’s amperage without overheating. This precise setup minimizes electrical interference, supporting stable air delivery and quieter operation. Properly installed, a dedicated outlet is essential for efficient, safe compressor function in your garage workspace.
Verify Circuit Capacity
How can you guarantee your electrical circuit can safely handle the air compressor’s power demands? First, assess the compressor’s power requirements, typically listed in amps or watts. Second, inspect your existing circuit capacity, ensuring it can support the load without risk of overload. Third, verify that the dedicated circuit includes a properly rated circuit breaker capable of handling potential power surges. This prevents tripping during operation and protects against electrical damage. It’s critical to confirm that the circuit breaker’s rating matches the compressor’s startup surge current, avoiding overload conditions. Properly verifying circuit capacity ensures reliable operation, minimizes the risk of power surges, and maintains electrical safety in your garage setup.
Set Up the Air Compressor Base and Mounting Options
When setting up the air compressor, choosing the appropriate base and mounting method is essential for stability and safety. Proper compressor mounting prevents movement during operation, reducing noise and wear. We recommend a solid, level platform constructed from concrete or sturdy plywood to guarantee stability. Incorporate vibration isolation by installing rubber pads or anti-vibration mounts between the compressor and its base. This minimizes transmitted vibrations, protecting both the unit and surrounding structures. Secure mounting brackets should be used if mounting to a wall or elevated surface, ensuring they are rated for the compressor’s weight. Precise installation of the base and mounting system enhances operational safety, reduces noise, and extends the lifespan of the compressor, making it a critical step in the setup process.
Connect the Air Hoses and Attach Pneumatic Tools Safely
Once the compressor is properly mounted and secured, we can proceed to connect the air hoses and attach pneumatic tools, guaranteeing a safe and efficient operation. Proper connection of air hose connectors is essential to prevent leaks and maintain consistent pressure. Follow these steps:
- Make sure all air hose connectors are securely tightened and free of debris before attaching hoses.
- Connect the hoses to the compressor’s outlet, verifying a snug fit to avoid air loss.
- Attach pneumatic tools, ensuring compatibility with the hose fittings, and check for secure connections.
Adhering to pneumatic tool safety protocols is vital during this process. Always inspect connections for leaks, avoid over-tightening, and guarantee the system is depressurized before detaching hoses or tools.
Install a Drain Valve and Pressure Regulator for Maintenance
To guarantee proper maintenance, selecting the appropriate drain valve and installing a reliable pressure regulator are essential steps. We will guide you through choosing components that match your compressor’s specifications and demonstrate correct installation techniques. Regular inspection and maintenance checks will optimize performance and extend the lifespan of your system.
Choosing the Right Drain Valve
Choosing the appropriate drain valve is essential for effective moisture management and system maintenance. An optimal drain valve ensures consistent air quality and noise control by efficiently removing condensate without disrupting airflow. When selecting a drain valve, consider these factors:
- Type: Manual or automatic, with automatic valves preferred for continuous operation and minimal maintenance.
- Material: Brass or stainless steel offer durability and resistance to corrosion, ensuring long-term reliability.
- Size: Match the valve size to your compressor’s port to prevent air leaks and maintain system integrity.
Properly chosen drain valves minimize moisture buildup, enhance air quality, and reduce noise caused by trapped condensate, ensuring your garage setup operates smoothly and efficiently.
Installing the Pressure Regulator
Have you considered how a pressure regulator can enhance your garage air compressor system? Proper installation guarantees consistent air pressure, which improves air quality and maintains ideal compressor lubrication. To achieve this, mount the regulator downstream of the compressor, ensuring it controls pressure before air reaches tools. Here’s a quick reference:
| Component | Purpose | Placement |
|---|---|---|
| Pressure Regulator | Maintains consistent pressure | After the air filter |
| Drain Valve | Releases moisture and debris | Before the regulator |
| Connecting Fittings | Secure connections | Between components |
This setup minimizes moisture buildup and preserves air quality, preventing corrosion and ensuring smooth operation. Correct regulator placement stabilizes pressure, ultimately extending compressor lifespan and supporting reliable performance.
Regular Maintenance Checks
Regular maintenance checks are essential to guarantee your air compressor operates efficiently and reliably. Properly installed drain valves and pressure regulators are critical for maintaining air quality and noise reduction. To maximize performance, we recommend:
- Regularly draining moisture via the drain valve to prevent corrosion and ensure consistent air quality.
- Verifying the pressure regulator’s accuracy to maintain ideal pressure levels and reduce unnecessary noise.
- Inspecting for leaks or blockages in the system, which can compromise air quality and increase operational noise.
These steps prevent moisture buildup, ensure stable pressure, and minimize noise levels, prolonging the compressor’s lifespan. Consistent maintenance is crucial for maintaining top performance, safety, and efficiency in your garage setup.
Test the System for Leaks and Proper Operation
Before operating the system, we need to verify that there are no leaks and that the compressor functions correctly. We start by inspecting all fittings, hoses, and connections for any signs of air leaks, which can compromise air quality and reduce efficiency. Using a soap solution on joints can effectively identify leaks through bubbling. Next, run the compressor and listen for abnormal noise levels, ensuring noise reduction measures are effective. We also check the pressure gauge for proper readings, confirming the system maintains consistent pressure. Ensuring airtight seals and proper operation not only improves air quality by reducing contaminants but also minimizes noise pollution. Proper testing guarantees safe, efficient performance and prolongs the compressor’s lifespan.
Maintain Your Air Compressor to Ensure Longevity and Performance
Maintaining your air compressor is crucial for guaranteeing it operates efficiently over time and avoids unnecessary breakdowns. Proper upkeep involves systematic attention to key components and adherence to maintenance schedules. First, regularly inspect and replace air compressor accessories such as filters and lubricants to prevent contamination and ensure peak performance. Second, drain moisture from the tank daily to prevent corrosion and maintain pressure stability. Third, follow manufacturer-recommended maintenance schedules for belt tension, pressure relief valves, and safety devices. These steps reduce wear and extend the lifespan of critical components. Consistent maintenance not only preserves efficiency but also minimizes downtime, guaranteeing reliable operation. Adopting these practices is essential for maximizing your compressor’s longevity and maintaining top performance.
Troubleshoot Common Installation and Operation Issues
When installing or operating an air compressor, troubleshooting common issues promptly is essential to prevent system damage and guarantee peak performance. Proper attention to air compressor safety protocols helps identify malfunctions early, reducing the risk of accidents. Common installation problems include inadequate ventilation, improper electrical connections, or incorrect pressure regulator settings. Troubleshooting common malfunctions involves checking for air leaks, verifying the power supply, and ensuring the safety relief valve functions correctly. If the compressor fails to start or maintains inconsistent pressure, inspect the pressure switch and motor. Regularly examining hoses for wear or damage prevents leaks and performance drops. Addressing these issues swiftly maintains system integrity, optimizes operation, and upholds safety standards, minimizing downtime and costly repairs.
Frequently Asked Questions
Can I Install an Air Compressor Outdoors in My Garage?
Yes, outdoor placement is feasible if ventilation requirements are met; guarantee the compressor is protected from elements, installed on a stable surface, and has proper drainage to prevent moisture-related issues. Proper ventilation minimizes safety risks and operational noise.
What Are the Noise Level Considerations During Installation?
Installing an air compressor is like tuning a delicate instrument; we prioritize soundproofing techniques and noise reduction methods, such as enclosures and vibration pads, to minimize noise levels, ensuring a quieter workspace and maintaining neighborly harmony during installation.
How Do I Prevent Moisture Buildup in the Air Compressor?
We prevent moisture buildup by installing moisture traps and utilizing desiccant dryers, which effectively remove humidity from compressed air. Regular maintenance and draining moisture traps guarantee consistent performance and prevent corrosion or damage to tools and equipment.
Is It Necessary to Hire a Professional for Installation?
We say no; DIY tips and proper tool requirements make installation straightforward, much like assembling furniture. Our experience shows, with careful planning and technical precision, you can install an air compressor safely without a professional.
What Safety Precautions Should I Take During Installation?
We guarantee safety by wearing personal protective gear like gloves and eye protection, and by following electrical safety protocols, such as disconnecting power before installation, to prevent shocks and accidents during compressor setup.
Conclusion
By following these steps, we guarantee a safe, efficient air compressor setup in our garage. Proper installation can extend the lifespan of your equipment by up to 50%, preventing costly repairs. Regular maintenance and thorough leak testing are essential for peak performance. A well-installed compressor not only enhances productivity but also reduces energy consumption, saving you money. With meticulous attention to detail, we create a reliable system that can serve us efficiently for years to come.

